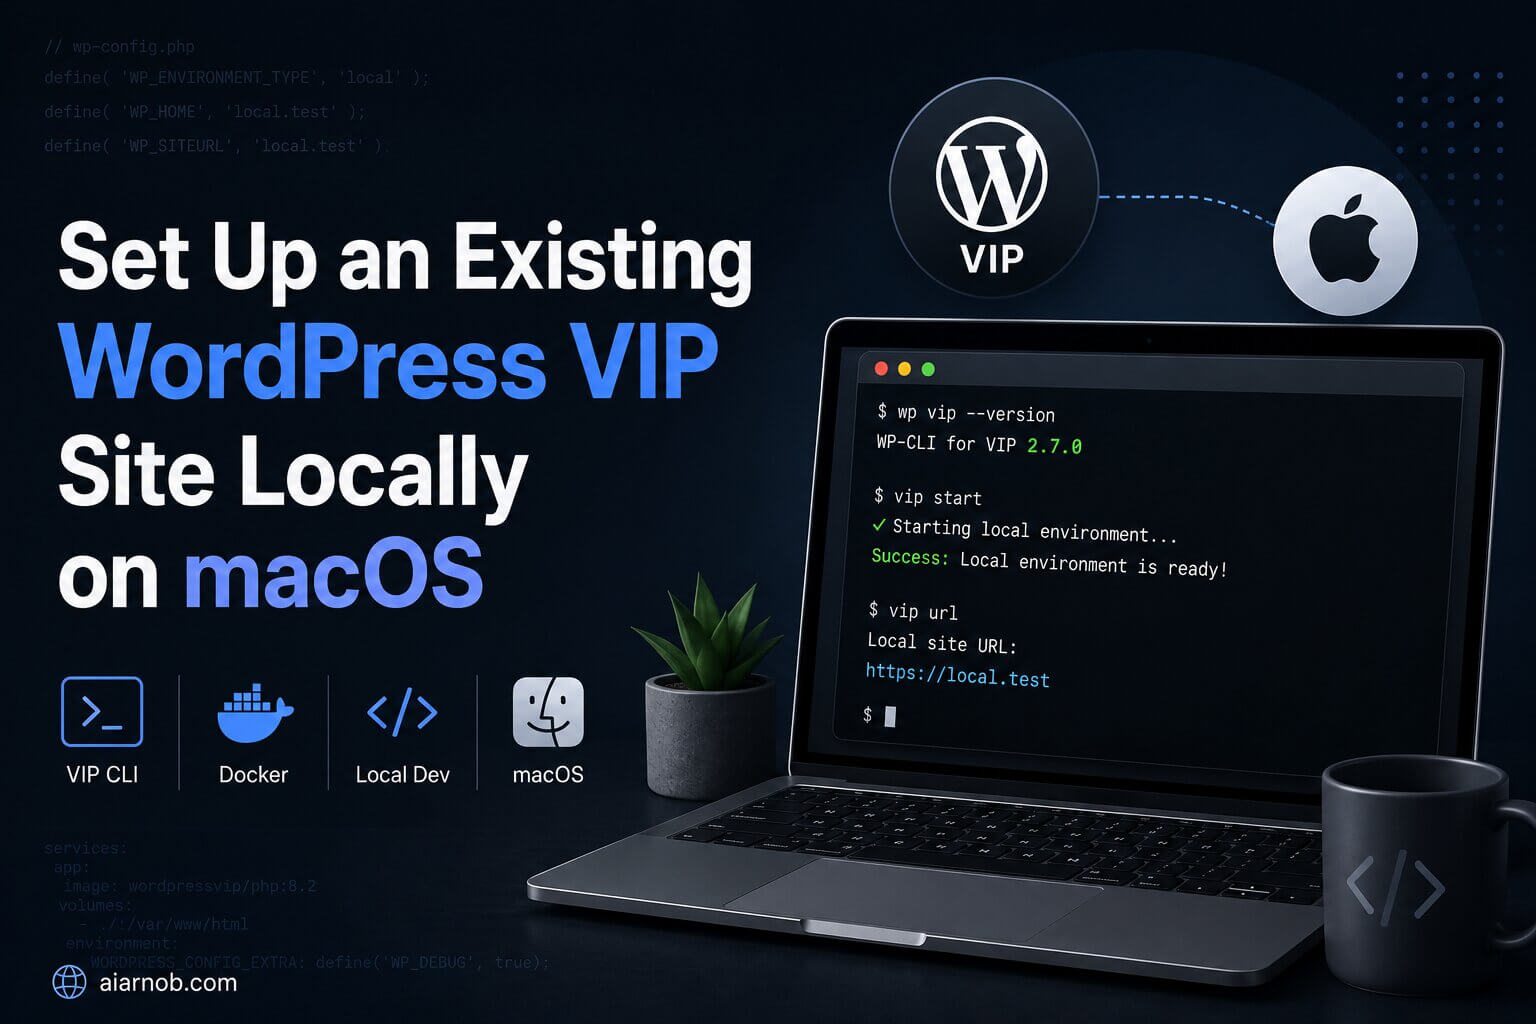
A quick guide to cloning a live WordPress VIP site to your MacBook for local development. Follow these commands in order.
Step 1: Install the Required Tools
Install Docker Desktop and VIP-CLI:
brew install --cask docker
npm install -g @automattic/vip
After installing Docker, open it from your Applications folder so it starts running in the background.
Verify all tools are installed:
vip -v && node -v && npm -v && docker --versionPlease skip Step 2 & Step 3 if you are setting up an existing WordPress VIP site from a backup instead of cloning the WPVIP GitHub repository.
Step 2: Log In to VIP-CLI
vip logout   # in case of stale session
vip login
The logout command clears any old session. vip login opens a browser window to authenticate with your VIP account.
Step 3: Clone the Site Repository
cd ~/Sites
git clone [email protected]:wpcomvip/your-site-name.git
cd your-site-name
Replace your-site-name with the actual repository name from your VIP application.
Step 4: Create the Local Environment
vip dev-env create --slug=your-site
You can name –slug anything unique you want but follow the rules lowercase letters, numbers, and hyphens only. No spaces, no underscores, no special characters. Common conventions: wp-vip-test-site.
A setup wizard will appear. Match production for PHP version, WordPress version, and multisite settings. When asked for the application code source, choose Local folder and provide the path to your cloned repo.
- Site title: anything
- Multisite: match production
- PHP version: match production
- WordPress version: match production
- Source for application code: choose Local folder and give it the absolute path to your cloned repo (e.g.
/Users/you/Sites/your-site-name) - Source for mu-plugins:
auto(pulls VIP’s mu-plugins automatically) - Source for VIP MU plugins:
auto
Step 5: Start the Environment
vip dev-env start --slug=your-site
Once started, you’ll see the local site URL, login credentials, and an auto-login link. Save these for later.
Step 6: Import the Database
vip dev-env import sql /path/to/file.sql --slug=your-site
Replace /path/to/file.sql with the actual path to your SQL dump on your Mac.
Step 7: Import Media Files
vip dev-env import media /path/to/wp-content/uploads --slug=your-site
Replace /path/to/wp-content/uploads with the path to the uploads folder on your Mac. The folder should contain year-numbered subfolders (2023/, 2024/, etc.).
Done
Your local copy of the VIP site is now running. Open the site URL shown after vip dev-env start and log in with the credentials provided.
Day-to-Day Useful Commands
Once your environment is set up, these are the commands you’ll use most often.
# List all your local environments
vip dev-env list

# Check status, URLs, and credentials
vip dev-env info --slug=your-site

# Start the environment
vip dev-env start --slug=your-site

# Stop the environment (frees up RAM and CPU)
vip dev-env stop --slug=your-site

# Run any WP-CLI command inside the container
vip dev-env exec --slug=your-site -- wp plugin list
vip dev-env exec --slug=your-site -- wp cache flush
vip dev-env exec --slug=your-site -- wp user list

# Create a new admin user
vip dev-env exec --slug=your-site -- wp user create yourname [email protected] --role=administrator

# Check site URL after import
vip dev-env exec --slug=your-site -- wp option get siteurl
vip dev-env exec --slug=your-site -- wp option get home

# Search and replace URLs in the database
vip dev-env exec --slug=your-site -- wp search-replace 'old-url' 'new-url' --skip-columns=guid

# Delete all manually imported media files (host path - faster)
rm -rf ~/.local/share/vip/dev-environment/your-site/uploads/*

# Delete all manually imported media files (container path - alternative)
vip dev-env exec --slug=your-site -- rm -rf /wp/wp-content/uploads/*

# Destroy the environment completely
vip dev-env destroy --slug=your-site

# Update tooling to the latest version
npm update -g @automattic/vip
For official documentation, visit docs.wpvip.com/vip-local-development-environment.